
Set up the Office add-in
Capture documents into Content Central straight from Word, Excel, Outlook, and more — install the right edition of the add-in, connect it to your server, and learn the three ribbon buttons that do the work.
Before you begin
- Permission to install software on your workstation (desktop edition)
At the end of this guide, a Content Central tab lives in your Office apps — capture a document or an email without leaving Word or Outlook, update documents you've captured before, and check files out for editing.
The add-in comes in two editions; use the one that matches how your organization runs Office:
| Edition | For | How you get it |
|---|---|---|
| Desktop | Office installed on your PC (Word, Excel, PowerPoint, Outlook, Visio, Project) | Download from Content Central (below) |
| Microsoft 365 web add-in | Office on the web / organizations that deploy add-ins centrally | Your Microsoft 365 administrator deploys it; it appears in your apps on its own |
Both connect the same way once installed. This guide walks the desktop edition; for the 365 edition, skip to step 3 when the buttons appear.
Step 1: Download the installer
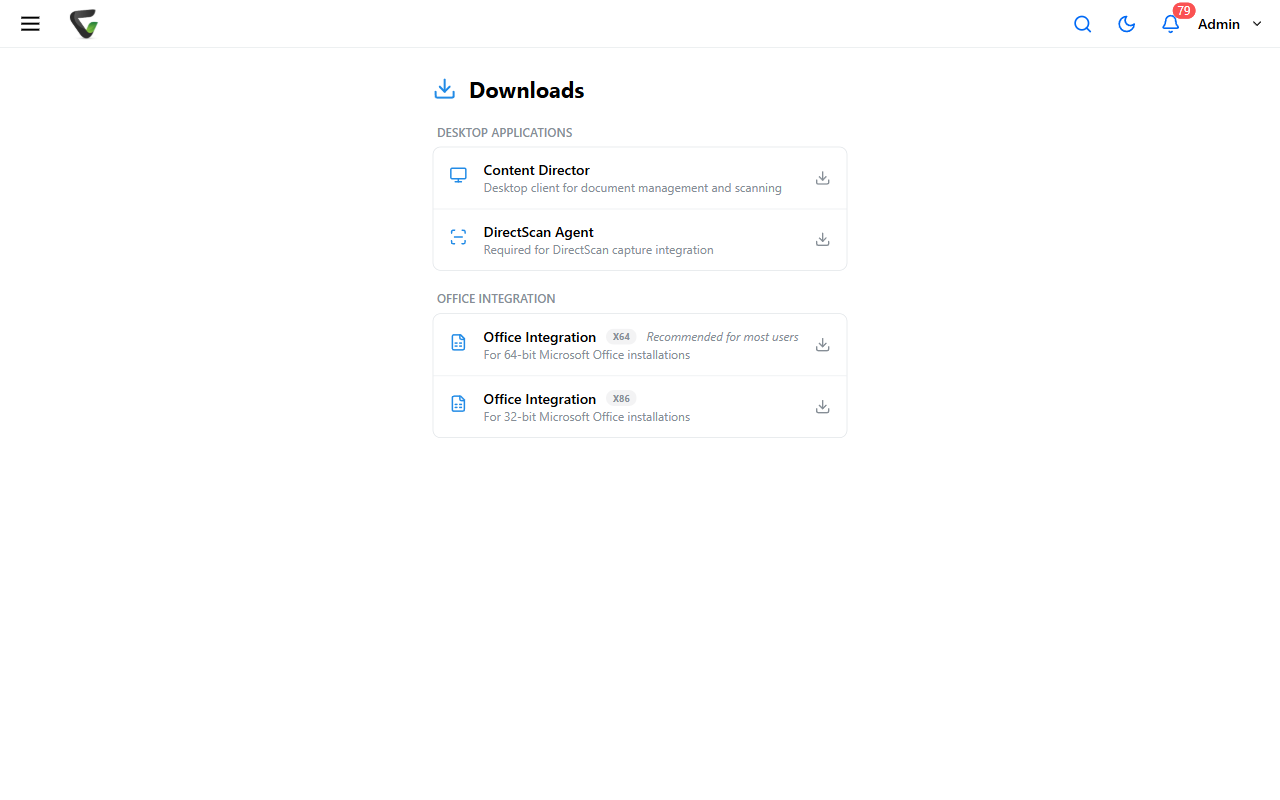
In Content Central, open the user menu (your name, top right) and choose Downloads.
Under Office Integration, download the x64 installer ("Recommended for most users") — or x86 only if your Office itself is 32-bit.
Step 2: Install
Close your Office applications, run the downloaded setup, and follow the wizard. Reopen Word (or any Office app): a ContentCentral ribbon tab appears.
Step 3: Connect it to your server
On the new ribbon tab, click Settings.
Under Content Central Server Settings, choose Content Central URL and enter your site's address (the same one from your browser). Click Confirm and wait for the status check.
Under Log in, pick your Domain (or
<None>for a local account), enter your User Name and Password, and click Test Log In.
Click Save Settings.
What you should see: the confirm step verifies it can reach your server, and Test Log In proves your credentials — green lights on both means you're connected.
What the buttons do
On the ContentCentral tab (group Management):
- Capture New — sends the open document into Content Central. A Content Central Check In dialog asks where: Destination (Catalog to file directly, or a Personal/Shared Coding Queue to index later), then Catalog and Document Type, then Upload. If the document type has field lookups, Perform field lookup(s) fills values for you.
- Update Document — pushes your changes back to a document that came from Content Central.
- Check Out — takes the editing lock, same as checking out in the browser.
Outlook gets its own version: in the message list, the Content Central tab offers Capture New for selected emails, and an open message adds Update Document and Check Out. The capture dialog gains one Outlook-only option: Send to Deleted Items after upload.
When the tab is missing
- Desktop: Office sometimes disables COM add-ins after a crash or slow start — re-enabling it is its own quick fix (guide coming to this site; until then, your administrator or support can walk it in two minutes).
- 365 edition: the add-in is deployed by your Microsoft administrator; if colleagues have it and you don't, that's a deployment-group question, not an installation one.