
Check a document out and back in
Take exclusive editing rights on a document, work on it, and return it as a new version — plus how to back out with Undo Check Out and what to do when someone else holds the lock.
At the end of this guide you'll know how to lock a document so only you can change it, return your edited file as a new version, and undo a checkout cleanly — including the etiquette for a lock someone else is holding.
Check-out is exclusive editing: while you hold it, colleagues can still view the document, but nobody else can change it. That's the point — no two people editing the same file over each other.
Step 1: Check the document out
Find the document (search, Folder Browser, or a queue) and open its ⋯ actions menu.
Under Make Changes, click Check Out.
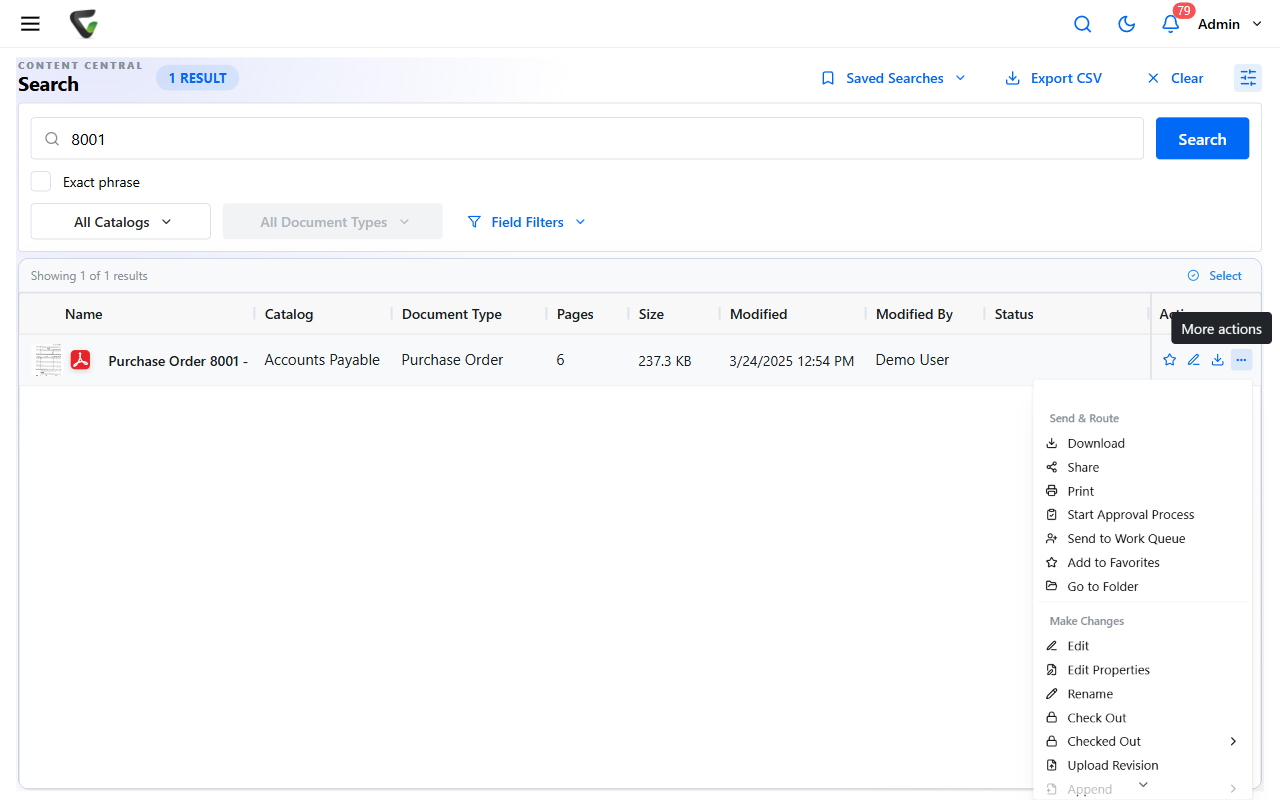
What you should see: the document's Status column now shows an orange Checked Out badge, and the document appears in your list under Work Areas > Checked Out.
If Check Out is refused on a document that's on an approval process, that's a system policy, not an error — by default, documents under approval can't be checked out. Your administrator controls it with the setting Allow documents to be checked out while on an approval process.
Step 2: Get the file and do your work
Checking out doesn't hand you the file by itself — use Download from the same actions menu to save a copy, edit it in the application of your choice, and keep it somewhere you'll find it for step 3.
Everything you've checked out lives in one place: Work Areas > Checked Out, with the date you took each lock.
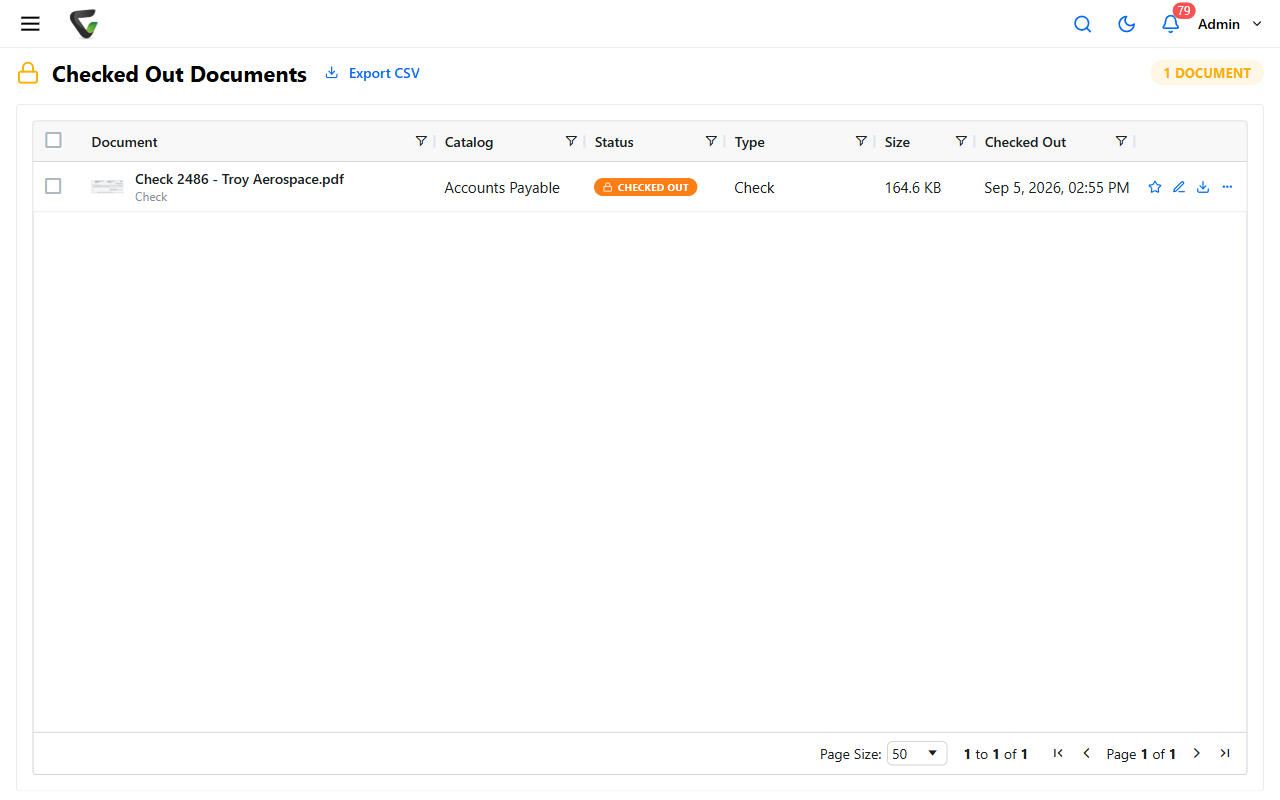
While a document is checked out, its field values are locked too, unless your administrator enabled Allow document properties to be modified when documents are checked out.
Step 3: Check it back in
On the Checked Out page (or the document's ⋯ menu under Checked Out), click Check In.
In the Check In Document dialog, click Select file, choose your edited file, and click Check In.
Success check: "Document checked in successfully!" — the lock releases, and your file is now the document's newest major version. The old version isn't gone: the document's View History shows the Checked Out and Checked In entries, and earlier versions remain in its revision history.
Backing out: Undo Check Out
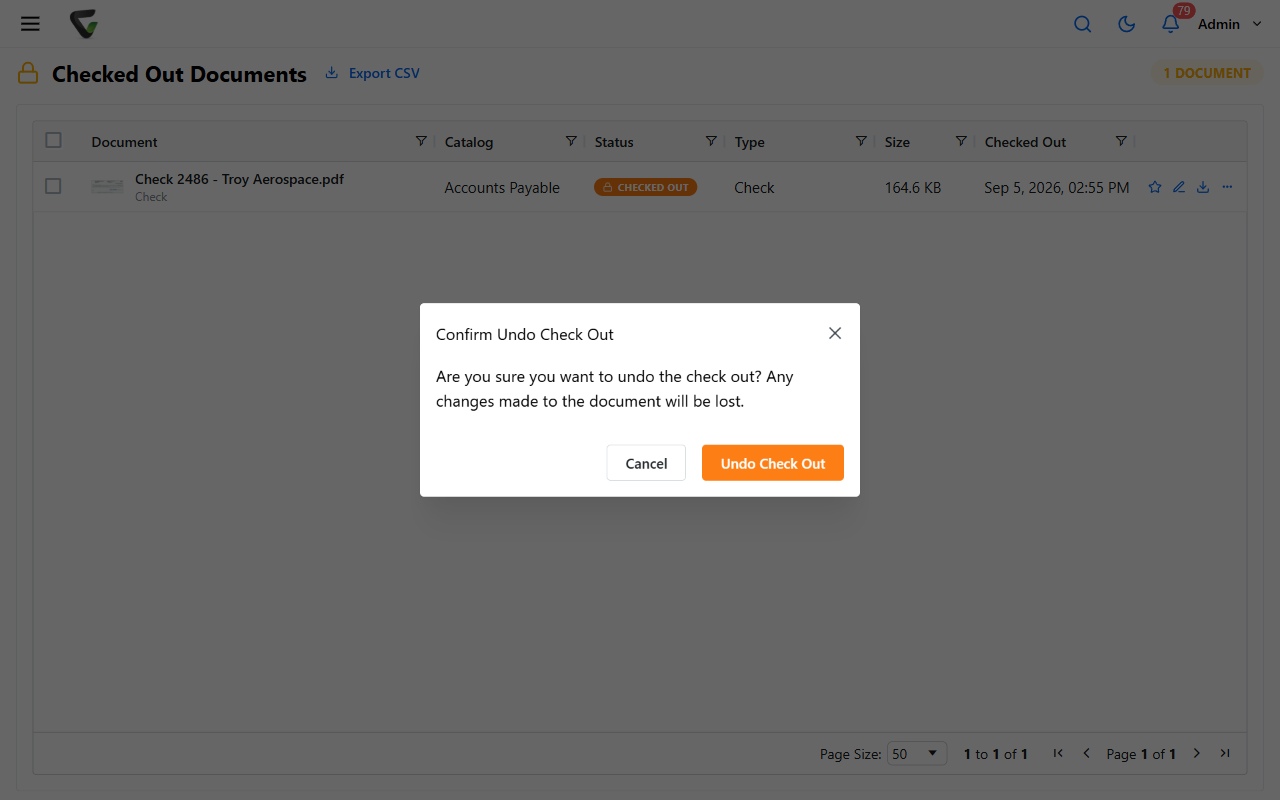
Took the lock and changed your mind? Undo Check Out (same menus) releases the lock without creating a version.
When someone else holds the lock
- Hover the Checked Out badge to see who has it — then ask them to check in or undo.
- Administrators (and document-type admins) can force it: choosing Undo Check Out on someone else's lock asks for confirmation and notifies that person. Use it for departures and vacations, not impatience — their unsaved work is lost.
If a document seems stuck in a locked state and nobody admits to holding it, Find out what's locking a file digs deeper.