
Create a report that runs on a schedule
Build a report template, schedule it with a workflow rule, and know exactly where the output lands — including the one choice you can't change later.
Before you begin
- The Report Templates admin permission (or full administrator rights)
- The Workflow admin permission, for the scheduling step
At the end of this guide a report builds itself on the schedule you chose — a CSV of exactly the documents and columns you defined — and you know where it lands and how to pick it up.
A report in Content Central is two pieces: a report template (what goes in it) and a workflow rule (when it runs). The template alone never produces anything — both halves below are required.
Step 1: Build the report template
Open the menu, go to Administration, and choose Report Templates. Click New Template.
Enter the Report Name and choose the Report Type:
Report Type What each row is Documents A document, with the field values you choose Documents by Approval Process A document on an approval process Documents in Work Queue A document sitting in a work queue Total Documents / Total Pages Capture volume counts Incomplete Packets A packet still missing documents importantReport Type is locked once the template is created — it's the one choice you can't change later. If you picked wrong, you'll be creating a new template, so decide this first.
Narrow what's included under Filters (Add Filter — catalog, document type, date ranges like this month or previous 7 days, and more). With no filters, the page says it plainly: No filters exist for this report. All documents will be considered.
Choose the columns under Output Columns (Add Output Column) — fields, system fields, or report-type columns, each with an optional Header Text. Optionally group rows into Segments (with Create Segment Headers for group headings).
Under Report Output, check the Filename (it's filled in from the report name, as a
.csv) and pick the Write mode:Write mode Each run… Append Adds rows to the same file (what the editor starts on) Replace Overwrites the file Keep All Writes a new time-stamped file, keeping every prior run
Leave Enabled on and click Apply.
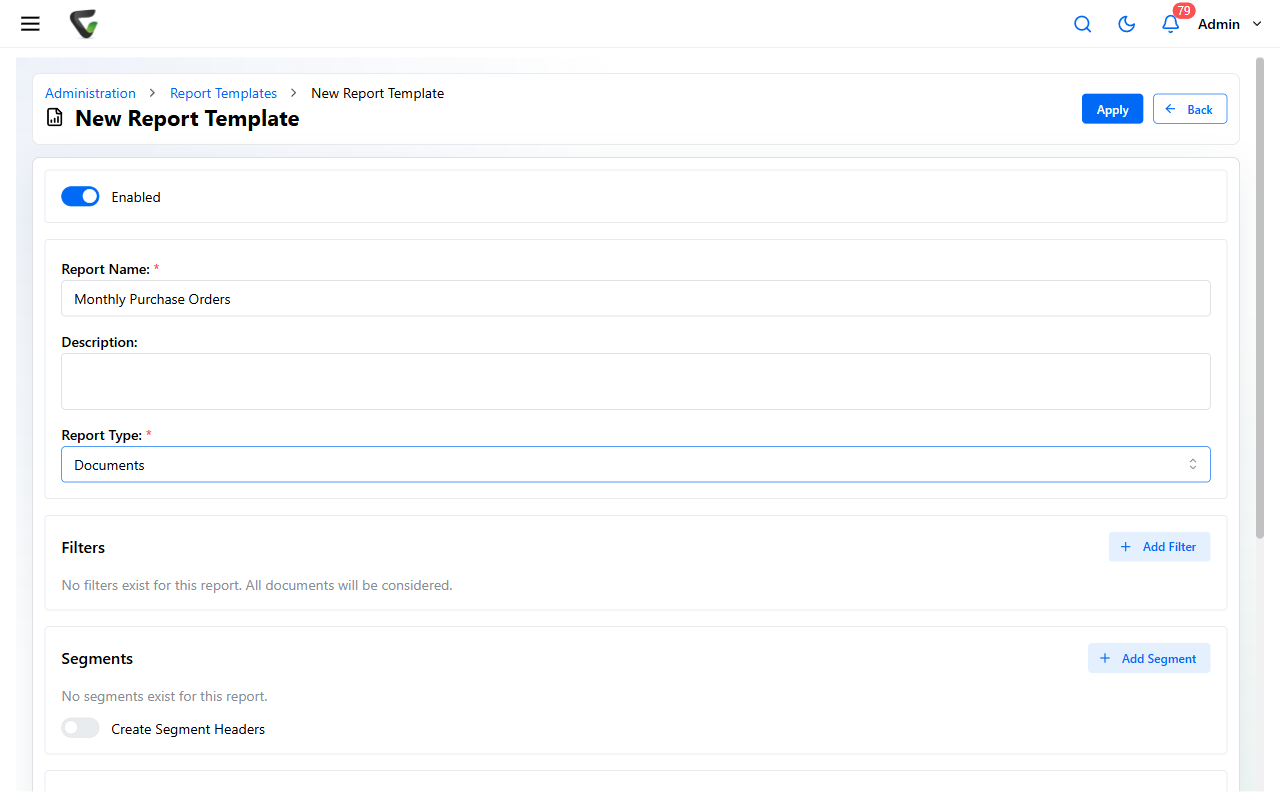
Reports output as CSV — it opens directly in Excel. If you need grouping headings inside the file, that's what Segments produce.
Step 2: Schedule it — a trigger, an action, and a rule
Reports are scheduled from the global workflow area — Administration > Workflow — not from any catalog's workflow pages. Three small pieces connect there:
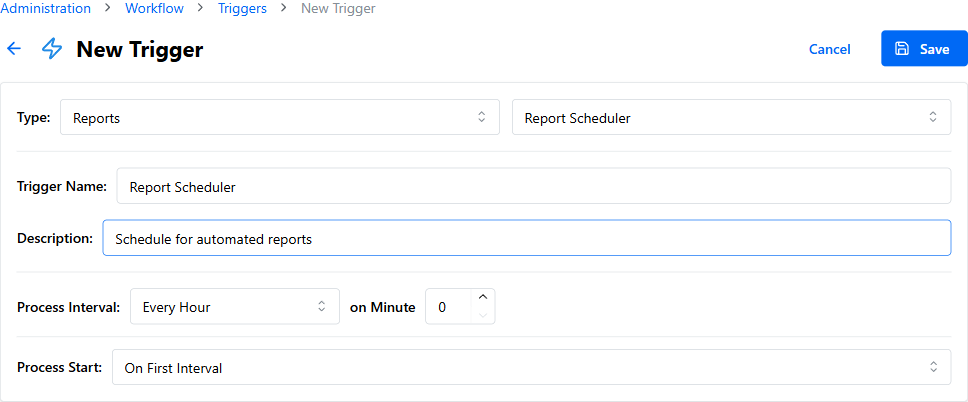
The schedule. Open Triggers > New Trigger. Set the type to Reports (its sub-type is Report Scheduler), then set Process Interval (how often) and Process Start. Save.
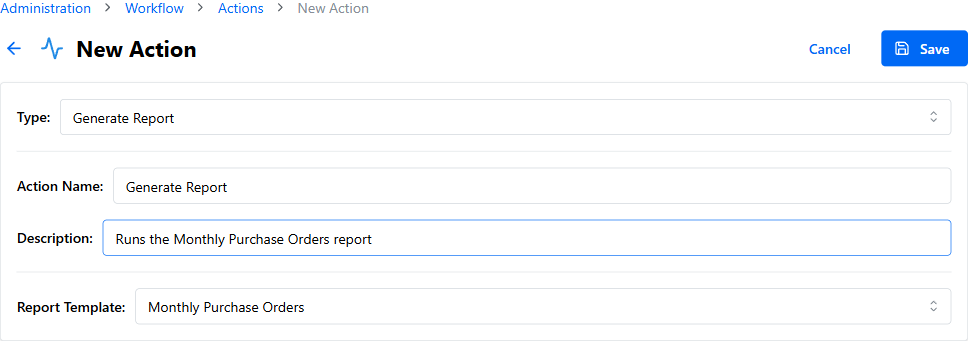
The action. Open Actions > New Action. Set the type to Generate Report and pick your template under Report Template.
The rule that ties them together. Open Rules > New Rule, name it, click Add Trigger and pick your scheduler, then Add Action and pick Generate Report (the action button unlocks once a trigger is chosen). Click Apply, leaving Enabled checked.
Building the rule needs the Workflow admin permission — it's separate from the Report Templates permission. If you can build templates but can't reach the Rules page, that's the missing piece to ask your administrator for.
Step 3: Pick up the output
Each run writes the file on the server, under the Reports folder, in a subfolder named after the report — it doesn't arrive in your browser or messages.
The easy pickup: back on Administration > Report Templates, the template's row gains a Download Report action once the report has run at least once. Click it to download the latest file.
Success check: after the first scheduled time passes, the Download Report action appears on the row and the file contains the columns you defined. If it never appears, check that both the template and the rule show as enabled.
With the default Replace write mode, each run overwrites the last file. If anyone needs history — month-end snapshots, audit trails — set Keep All before the second run, not after.
If the report is missing columns or rows
Blank columns and missing documents in report output almost always trace to field-level causes, not the template — work through A report or export is missing fields before rebuilding anything.