
Scan documents with DirectScan
Scan paper straight into Content Central from your browser — connect the scanner the first time, choose where the document goes and when you'll fill in its fields, and run the scan.
Before you begin
- A scanner attached to this workstation (USB or network)
- Permission to install software on this workstation, for the one-time setup
At the end of this guide you'll have scanned paper into Content Central from your browser: the scanner connected, the document headed to the right catalog, and a clear choice about whether you fill in its fields now or later.
Step 1: Open the DirectScan page
In the sidebar, open Capture New and choose DirectScan.
Step 2: First time only — connect your scanner
The first visit walks you through connecting, one panel at a time. Two moments matter:
"Connect to your scanner" — click Connect. Your browser will ask whether this page may reach software on your computer: choose Allow. Until you do, everything else looks broken even when it isn't.
"DirectScan is not set up on this computer" — click Install DirectScan and run the installer. The panel shows "Waiting for DirectScan…" — finish the installer and the page carries on by itself.
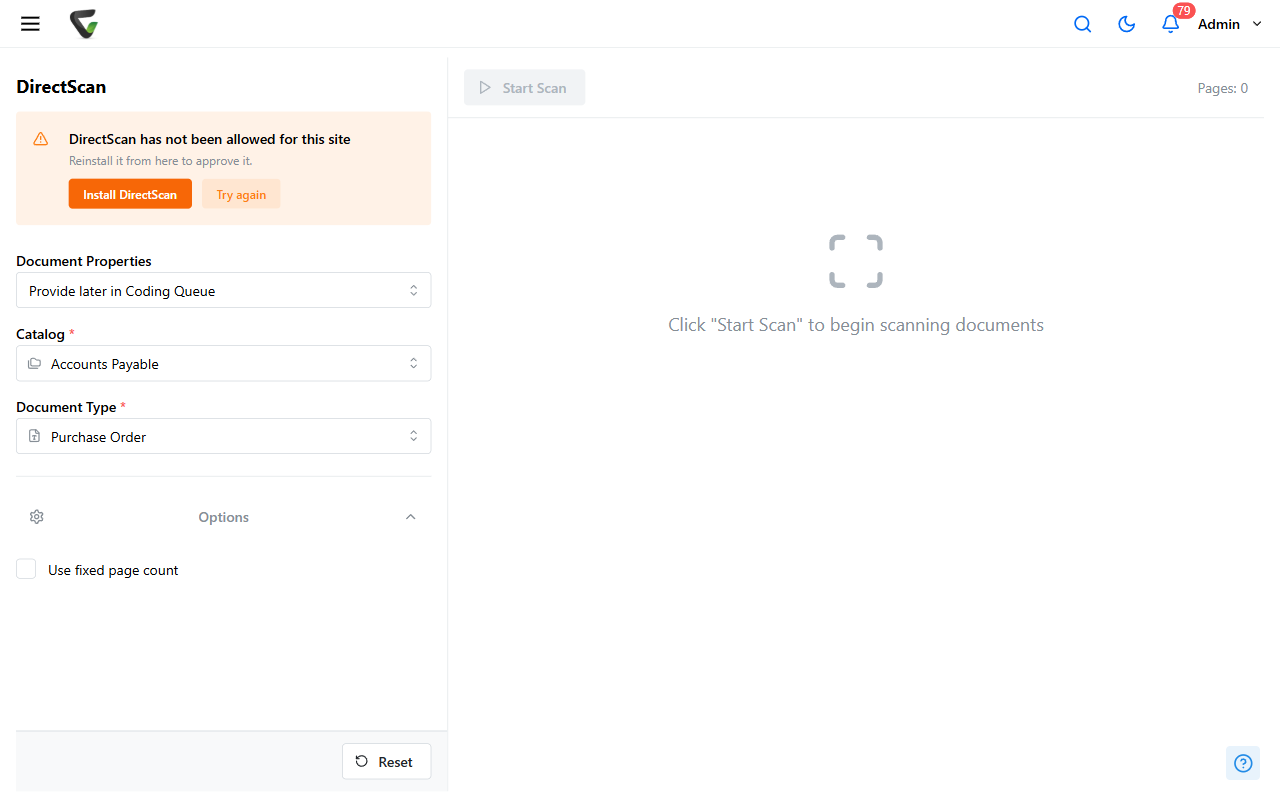
Always install from this page (or from Downloads > Desktop Applications > DirectScan Agent) rather than an installer someone saved earlier — the copy from your own server automatically trusts your server and is guaranteed current.
What you should see: the setup panel disappears and a Device dropdown lists your scanner. If it says "No scanner detected" — switch the scanner on, check the cable, and click Look again.
Step 3: Say where the document goes
Choose the Catalog and Document Type.
Under Document Properties, choose when you'll fill in the document's fields:
Choice What happens Provide now Fill in the fields on this page; the document files directly Provide later in Coding Queue Scan now, fill in fields later from the Coding Queue Provide some now, some later Fill some fields now; a Destination choice sends the rest to Your Queue or Shared Queue Provide only Catalog & Document Type Just the destination — everything else waits in the queue
If you chose to provide fields now, complete the Required Fields (and any Optional Fields). An Approval Process selector appears when the document type has processes to choose from.
Step 4 (optional): Adjust scan settings
Open Options to change how the scan itself runs:
- Resolution, Page Size, Color Mode, Input Source, and Duplex Mode — the choices come from your scanner
- Use fixed page count — split a stack into documents of exactly N pages
- Use Device Software — hand control to your scanner's own dialog instead (hides the settings above)
The defaults are fine for most office paperwork. Change Duplex Mode when your pages are double-sided — that's the one people forget.
Step 5: Scan
Load the paper and click Start Scan. Pages appear in the preview as they come in; the counter shows Pages: n. Click Stop Scan to end early, or Clear All to start over.
Click Finish.
What you should see: a message that your pages were submitted for capture processing. Processing runs in the background, so the document appears in Content Central shortly — not instantly. That's expected, not an error.
If you chose to provide fields later, your scan is waiting under Work Areas > Coding Queue.
When scanning won't start
Almost every DirectScan problem is one of three layers — the scanner's driver, the DirectScan software on this computer, or the connection to your server — and each fails with a different message. DirectScan can't see your scanner or reach the server walks the layers in order; start there before reinstalling anything.